HD Instance Grass Tutorial


I'm going to show you how to make grass this nice using HD Instance. It renders in reasonable time, and it's real, volumetric geometry, right down to each individual blade of grass! It will show up in shadows and reflections and whatnot. Anyways, on with the tutorial!


Okay. So we're going to make a lawn. First thing we'll need is a blade of grass. Make a nice metanurb blade. Don't be scared. Here's a really nice, simple one. I started with a 2x3 segment box, nurbed it, and moved some points around. Easy!


Now we're going to make a patch of grass. This is the object we'll be instancing. Why not instance individual blades? Well, currently HD Instance will only create one instance per point / polygon in your guide object. So if we want zillions of grass blades, we'd need a guide object with zillions of points. That's no good. So instead, we'll make a patch of grass with thousands of blades, and instance that many thousands of times. That's doable. Here I've made an array of points by creating a 32x32 segment box. Then I killed the polygons. Then I jittered the points a little in the x and z axes.


Okay, now it gets interesting. We want to design the patch of grass so that it tiles nicely, and allow it to overlap neighboring patches since the instances aren't going to be quite regularly spaced. We'll see that later. So the trick is to thin out the grass a little on the edges. I've deleted some of the points so the area looks kind of like a circle, and then I deleted some more random-ish points around the edges to thin it out. Finally, I used Particle Clone Plus to clone the blade onto the points, with random heading and slightly random pitch / bank. Save the object.


Now we need a ground object to put the grass on. I've made a pretty simple, low-res metanurb landscape here. We'll add more detail later in Layout using displacement maps. Save this object too.


Okay. Now load up both objects into layout, and set the grass patch Object Dissolve to 100%. We only want the instance patches to render, not the original. Apply the HD Instance custom object plug-in to the ground object, and set the Object To Clone to the grass patch object. Set the Emitter Type to Polygons, since we want the patches to hug the ground polygons. Finally, set the Preview Type to Bounding Box for now, so we can see the coverage of the patches. Right now it's clear that there are not enough instances. We're going to fix that.


To get more instances, play with the Display Subpatch Level of the ground object until the instance bounding boxes seem to cover the entire surface. Once you get that value figured out, set the Render Subpatch Level to the same value. After you've finished, you can set the Display Subpatch Level back to a lower value, and set the HD Instance Preview Type to None, in order to speed up your display.


Here's a quick and dirty render. No antialiasing or shadows. Well, it's clear the instances still don't quite cover the surface. Heh. We could increase the subpatch settings some more, or we can increase the size of the grass patch. I'm going to go ahead and just double the size of the grass patch object. I'll do it right in Layout by setting a keyframe. Also, the grass patches are a little too regular here. I'll add a random heading to the instances (min 0, max 360). Also, I'll set a little random y scale (min 50, max 150). Remember to uncheck the Lock Scale To X button because we're just messing with the y axis for now.


Okay, here's another quick and dirty render. All that scaling and randomization seems to have payed off.


Here's a quick and dirty close-up of the grass. I've moved the camera in for a closer look. Now we're about ready for some texturing.


Here's a high quality render, with some texturing. I've slapped a gradient sky in the background. For lighting, I have a little blue ambient light and slightly yellow key light. I've added some translucency to the blade surface (75%) to make it look thinner. I also put a bump map on the ground and made it brown. Plus, I've turned on ray-traced shadows and I've added the Full Precision Gamma filter. Man. That's pretty slick. Every blade is fully metanurbed and all. Yeah.


Okay, this is pretty nice. It's the far-away view again, at high quality. However, this is supposed to be a lawn, not a golf course. So we'll add a little turbulence displacement map to the ground object. Also, let's add some x and z scale randomness to the instances to see if we can break up those remaining faint lines of regularity. Set the max random values of x and z scale to, say, 125%. By the way, the green ground plane in the background is from my gradient backdrop. In a real scene I'd have more stuff in the background so you wouldn't see it.


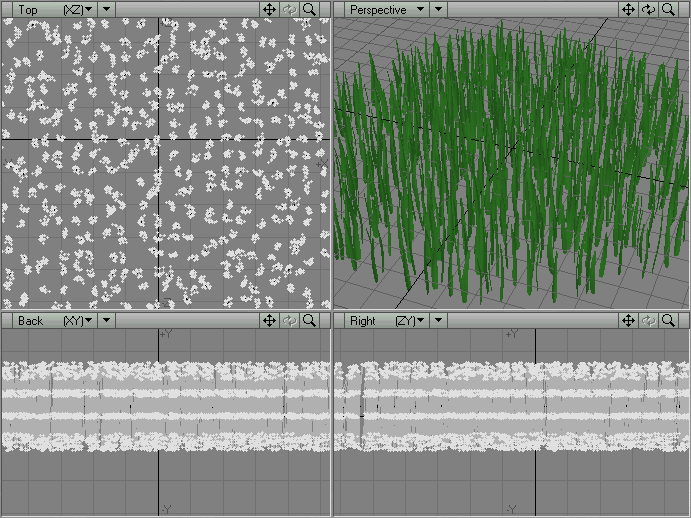
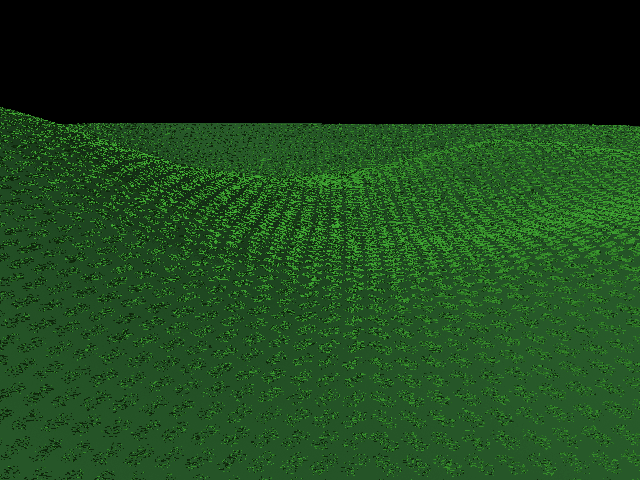
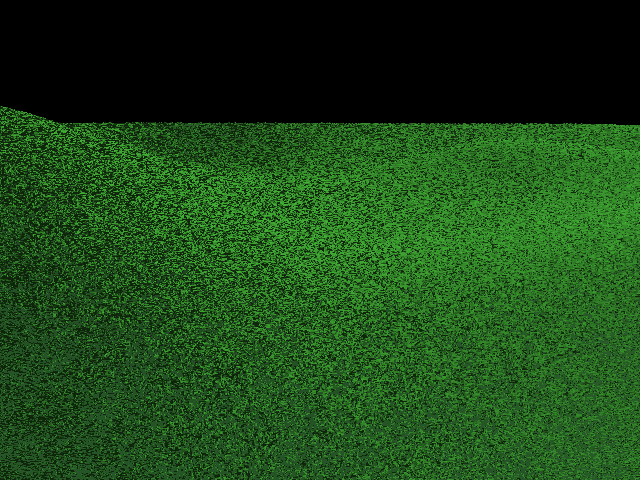
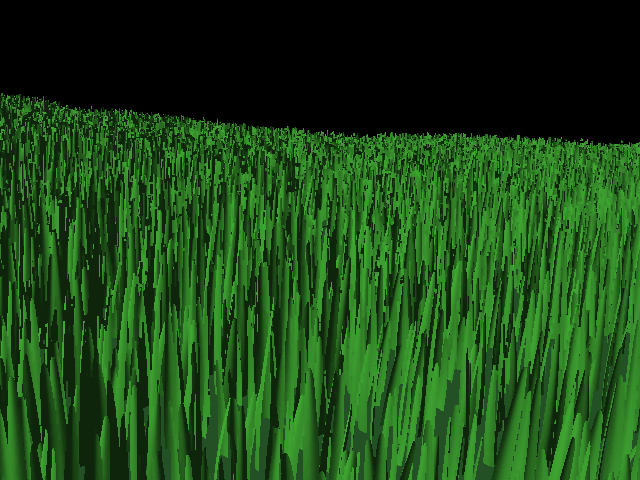
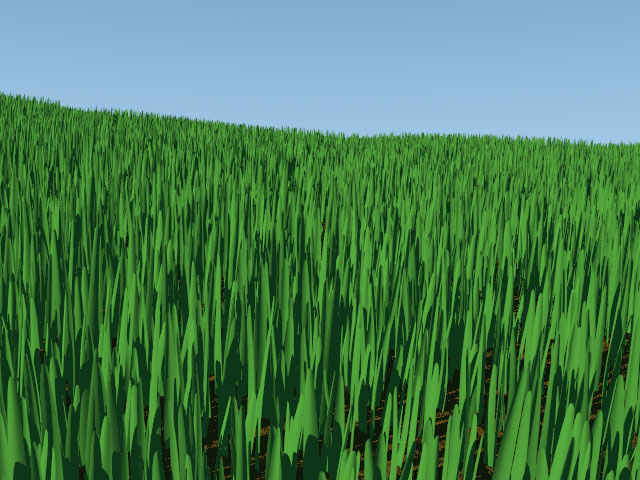
Wow. Remember now, this is not fake. 
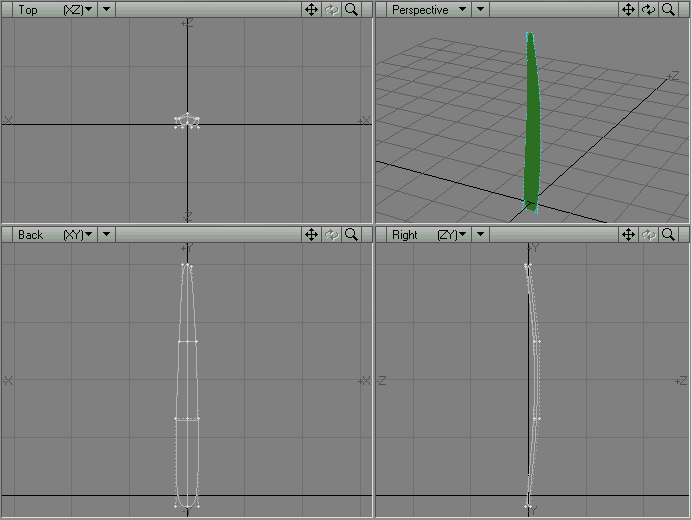
Every blade of grass is being rendered in its full metanurb glory. 
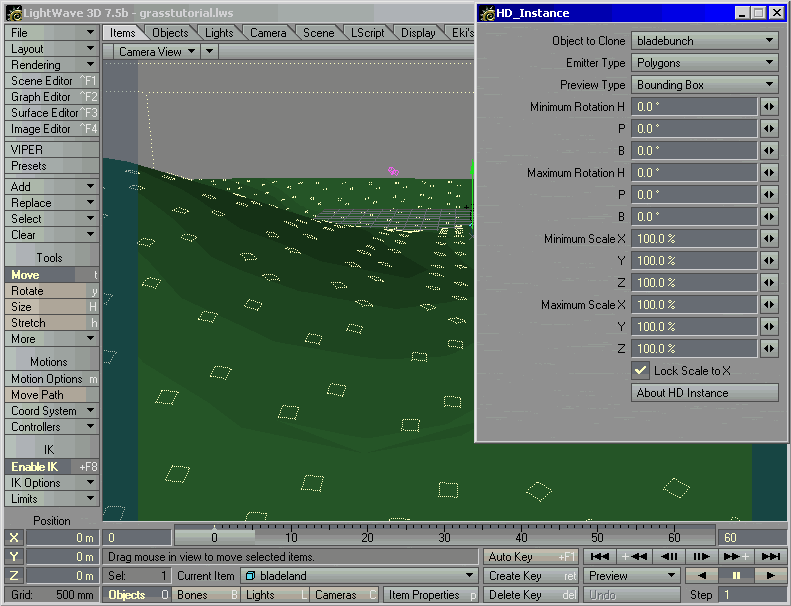
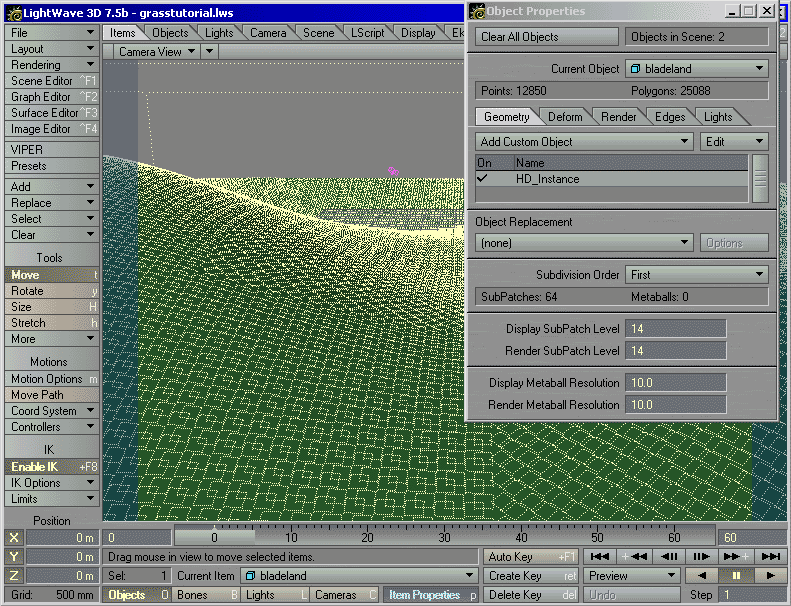
Let's do some stats. 
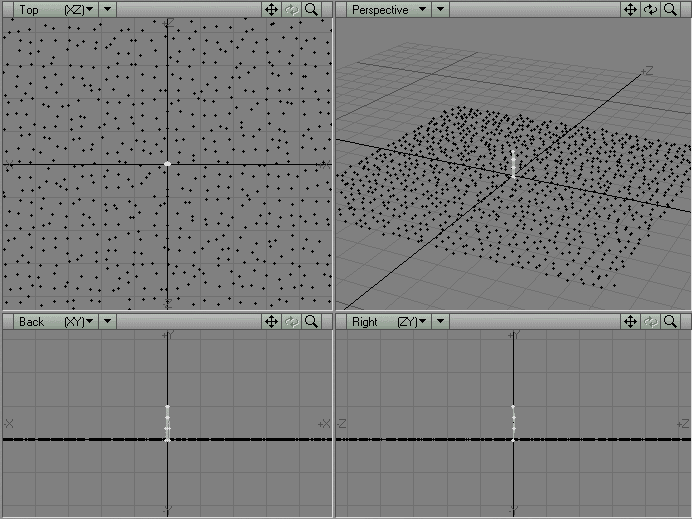
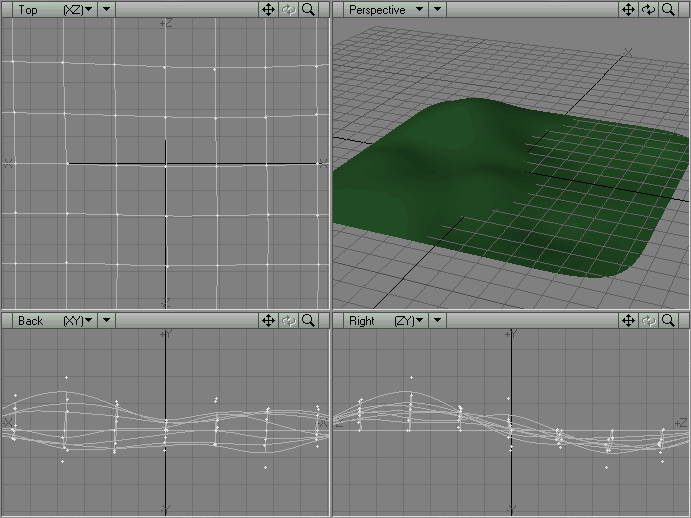
There are 25,088 polygons on the subpatched ground object, thus 25,088 patches of grass. Each subpatched patch of grass contains 711 blades of grass, or 76,788 polygons. That's a total of 17,837,568 blades of grass, or 1,926,457,344 instanced polygons! I'm getting these renders at 35 minutes per frame on a (please don't laugh at me) 450MHz P-II with 256MB ram. LightWave is only eating about 80MB during renders. Not bad! 
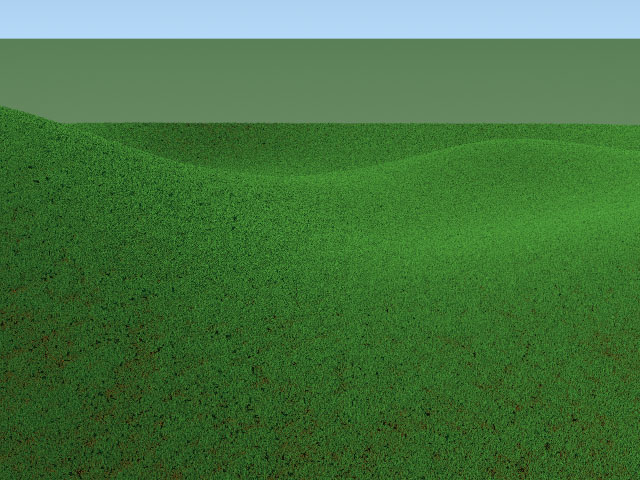
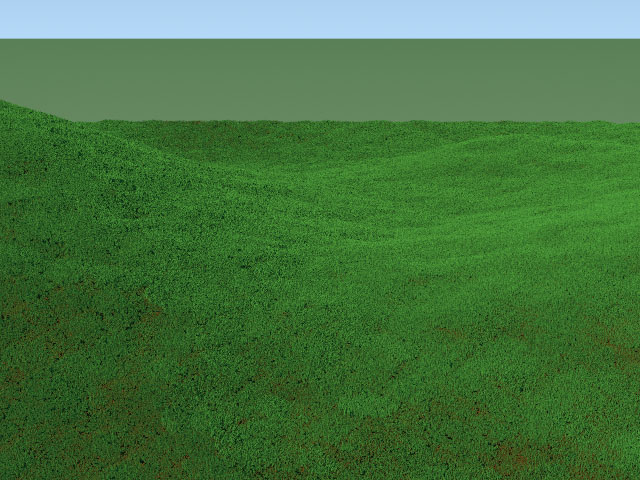
Now, go make your own grass and slap some trees and squirrels in there or something. Go!